In a previous post, I mentioned that Dave and I had differing opinions whether we should get a Christmas tree.
In the end, I decided to make one.
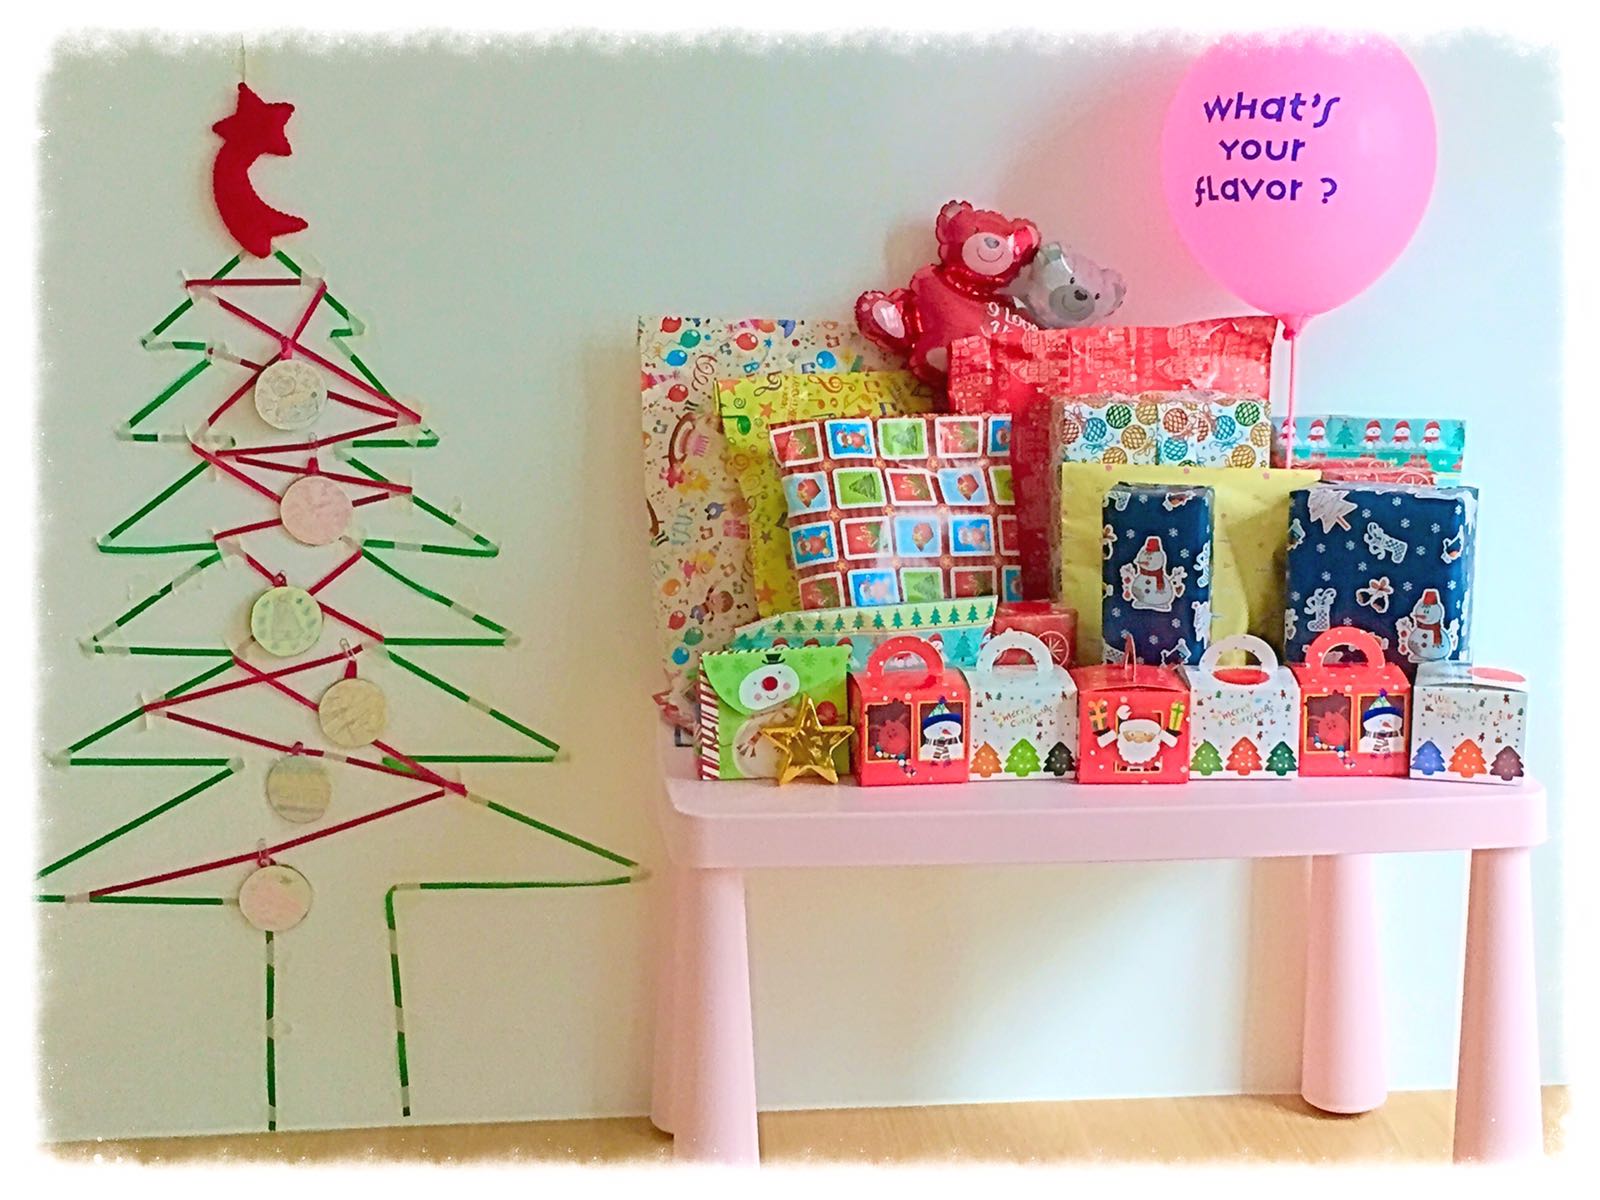
Well, I am proud to present our DIY Christmas tree. It’s simple, cheap, easy to maintain, and easy to dismantle as well. Best of all, we made use of existing materials so I didn’t really need to spend much, except perhaps the ribbons to create the outline of the tree.
Here’s a picture of the end product. Tadaaaa!!!
Basically the inspiration was from this picture that I found on pinterest.
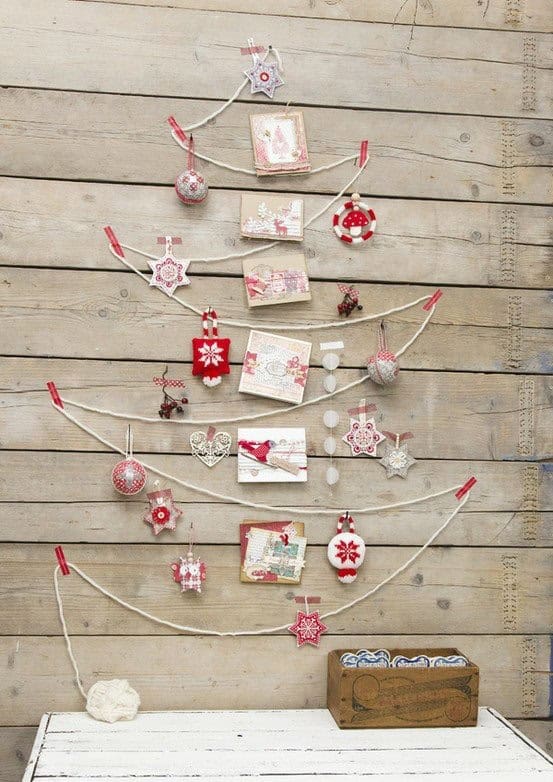
Looks pretty cool doesn’t it? And I thought, I’ll probably just get a ball of yarn and we could even make the rest of the accessories ourselves. However, I ended up getting ribbons instead and started forming the outline of a tree using the green ribbon. As for the interior, I stuck the ribbons across in all directions, so that it will form the support required for me to stick the ornaments on them.
As for the accessories, I made it loosely based on this post. Basically, you use cardboard as the base and start decorating from there. I modified it slightly, as I wanted to involve Ally in the art decor of it. On a piece of cupboard, I stuck a piece of coloured paper on it, and let Ally draw and colour some decorations before cutting them out.
The pink table beside the tree is actually a toddler table that we got for Ally. It was initially placed in her nursery but I thought I could put it beside the tree and create a mini Christmas mantle. Since I have already purchased most of the gifts, I started wrapping them up and decorate the table with the gifts, to give it a more “Christmassy feel”.
And here it is, our minimalist christmas tree.
Lovely 😊